
Tired of chilly floors and an underfloor heating system that simply refuses to cooperate? You are not alone in facing these challenges. This guide is designed to help you confidently fix underfloor heating issues in 2026, whether you are a homeowner or a property manager. Inside, you will find expert advice on the most common faults affecting both water-based and electric systems, practical troubleshooting steps, essential tools, and crucial safety tips. Follow our clear roadmap and transform your home into a warmer, more comfortable space while saving time and money.
Understanding Underfloor Heating Systems in 2026
Cold floors are a common frustration, especially when you need to fix underfloor heating efficiently. In 2026, understanding the differences between water-based and electric systems is essential for diagnosing issues and planning repairs. Both systems have evolved, offering better comfort and energy savings for UK homes.
Types of Underfloor Heating: Water vs. Electric
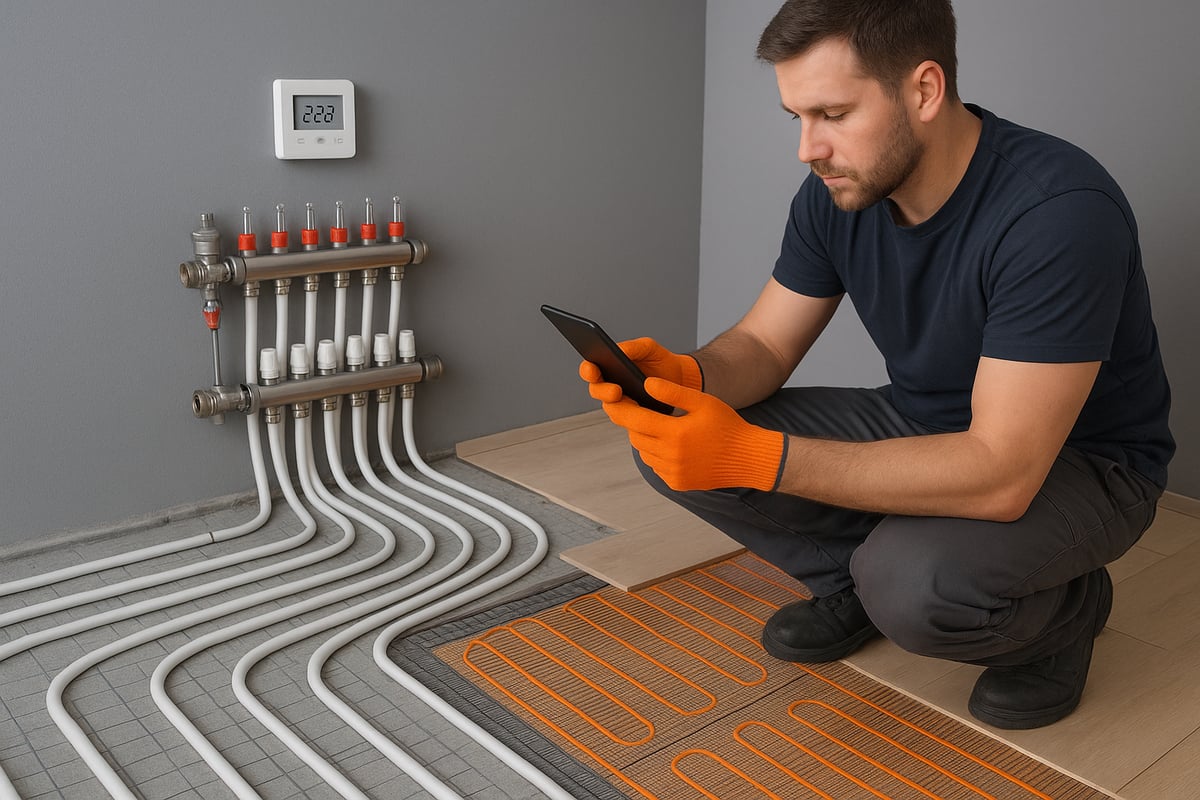
UK homes in 2026 typically feature either water-based (wet) or electric (dry) underfloor heating. Water systems circulate warm water through pipes embedded in the floor, while electric systems use heating mats or cables. The choice between these systems impacts installation, maintenance, and how you fix underfloor heating problems.
| Feature | Water-Based (Wet) | Electric (Dry) |
|---|---|---|
| Installation | More complex, higher cost | Simpler, suitable for retrofits |
| Common Issues | Airlocks, pump faults | Cable breaks, sensor errors |
| Life Expectancy | 25-50 years | 15-30 years |
| Efficiency | High with renewables | Fast response, less efficient |
| Maintenance | Annual checks needed | Occasional sensor checks |
Water systems are often paired with heat pumps or boilers, especially in new builds and larger renovations. Electric systems are popular for smaller spaces or quick upgrades. In both cases, essential components include manifolds, thermostats, actuators, and underfloor pipework or mats. For a detailed breakdown of these parts, explore this underfloor heating components guide.
Recent regulations in the UK require higher energy efficiency standards. Many 2026 installations feature improved insulation, smarter controls, and compatibility with renewable sources. Environmental impact is also a key consideration, with modern systems designed to reduce carbon emissions and energy bills.
How Underfloor Heating Works
To fix underfloor heating, it helps to know how these systems operate beneath different floor types. Heat is distributed evenly through the floor, rising gently to warm the room. The effectiveness depends on proper insulation and the use of screed, which helps spread warmth and prevent heat loss.
Modern thermostats, often with smart controls, play a vital role in maintaining comfort. They allow precise temperature management, scheduling, and even remote access via apps. Typical temperature ranges for underfloor heating are between 21°C and 28°C, providing a comfortable environment without overheating.
Integration with renewable energy sources, such as air or ground source heat pumps, is increasingly common in 2026. This not only boosts efficiency but also aligns with sustainability goals for UK properties. Well-maintained systems can deliver consistent warmth and lower running costs, making it easier to fix underfloor heating issues before they escalate.
Diagnosing Common Underfloor Heating Problems
Cold floors are more than just an inconvenience, they are often the first clue that something is amiss with your underfloor heating. To accurately fix underfloor heating, it is vital to recognise the early warning signs and understand which problems are most likely affecting your system in 2026. This section will help you spot the symptoms, identify the most frequent issues, and ensure you have the right tools for a thorough diagnosis.
Signs Your Underfloor Heating Needs Attention
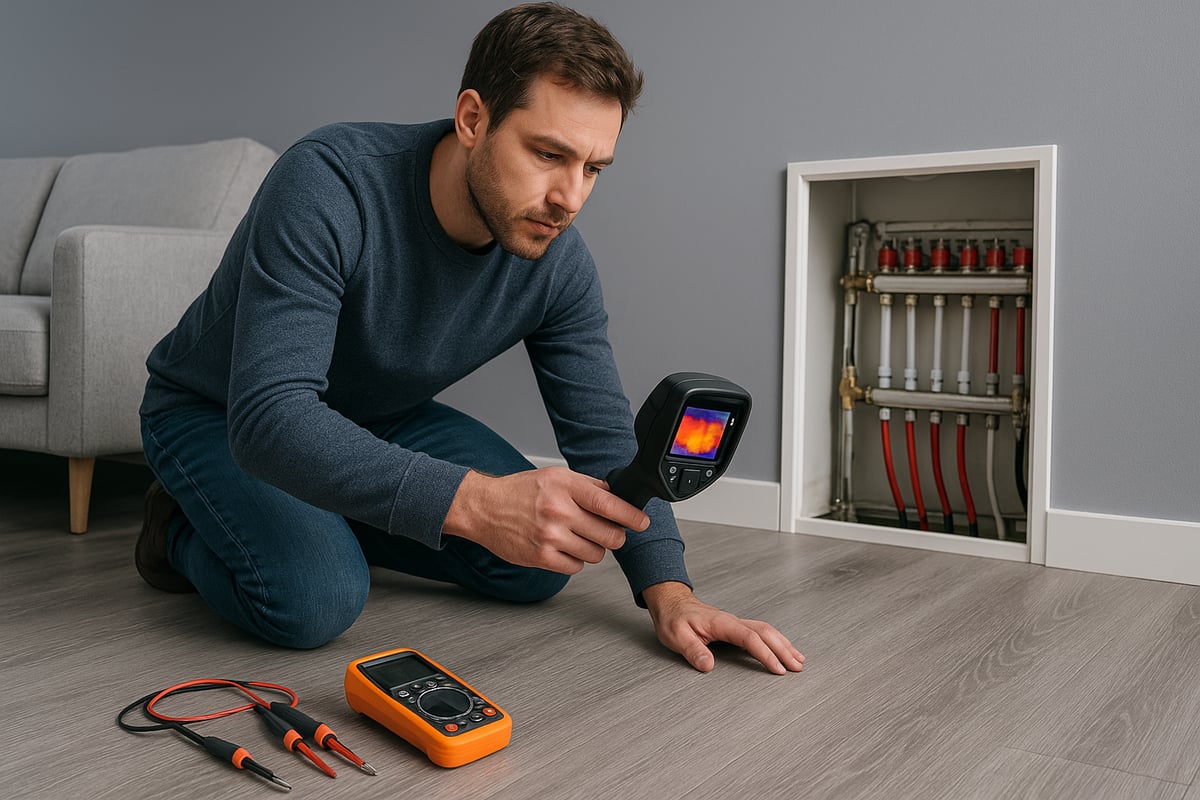
When you try to fix underfloor heating, knowing the early signs of trouble will save time and prevent further damage. The most common symptoms include uneven heating, where some floor areas remain noticeably colder than others. If your system fails to reach the set temperature or takes much longer than usual, it is a clear signal that something requires investigation.
Look out for persistent error codes on your thermostat display, such as E1 or E2, which often point to sensor or connection problems. For water-based systems, the boiler or heat pump may not trigger when expected, resulting in cold floors throughout. Unusual noises like gurgling, clicking, or humming should not be ignored, as they often indicate trapped air or mechanical faults.
A sudden spike in your energy bills can also suggest the system is working inefficiently. Pressure fluctuations or visible leaks in wet systems are further warning signs, and should prompt an immediate assessment. By recognising these indicators early, you stand a much better chance to fix underfloor heating before minor issues escalate.
Most Frequent Issues in 2026
Once you notice a problem, the next step to fix underfloor heating is to pinpoint its root cause. In 2026, both water-based and electric systems share some recurring faults. Airlocks and trapped air in the pipework are still common, leading to cold spots and poor heat distribution. Faulty actuators or stuck pin valves can prevent individual zones from heating as they should.
Thermostat malfunctions, especially with the widespread adoption of wireless and smart controls, are increasingly frequent. Failed circulation pumps or blending valves are typical in wet systems, impacting water flow and temperature balance. Electrical faults in heating mats, wiring boards, or relays can cause electric systems to stop working or deliver patchy heating.
Sensor failures, especially in smart thermostats, may cause inaccurate temperature readings or system errors. System pressure problems, whether rising or dropping, often stem from leaks, airlocks, or component failures. For a detailed look at these problems and their solutions, visit Common Underfloor Heating Problems and Solutions, which covers practical fixes for both system types.
Tools and Equipment Needed for Diagnosis
The right tools make it much easier to fix underfloor heating quickly and safely. A digital multimeter is essential for checking electrical circuits and identifying faults in electric systems. Thermal imaging cameras or infrared thermometers are invaluable for detecting cold spots and ensuring even heat distribution under floors.
For water-based systems, you will need manifold keys to adjust flow rates, as well as screwdrivers and pliers for actuator and valve work. Smart thermostat apps now offer diagnostic features, allowing you to check error codes and system status remotely. Pressure gauges are vital for monitoring wet system performance and spotting leaks or airlocks.
Always keep manufacturer manuals and online troubleshooting resources close at hand, as these provide specific guidance for your system model. With these tools, you will be well prepared to fix underfloor heating issues as they arise, ensuring your home stays warm and energy efficient.
Step-By-Step Guide: Fixing Water-Based (Wet) Underfloor Heating
Struggling with uneven warmth or persistent cold spots? If you want to fix underfloor heating issues quickly and safely, following a clear process is essential. This step-by-step guide empowers you to tackle common problems in water-based systems, helping you restore comfort and efficiency to your home. Whether you’re a first-timer or experienced DIYer, these practical instructions will help you diagnose, repair, and maintain your underfloor heating with confidence.
Step 1: Safety First and System Preparation
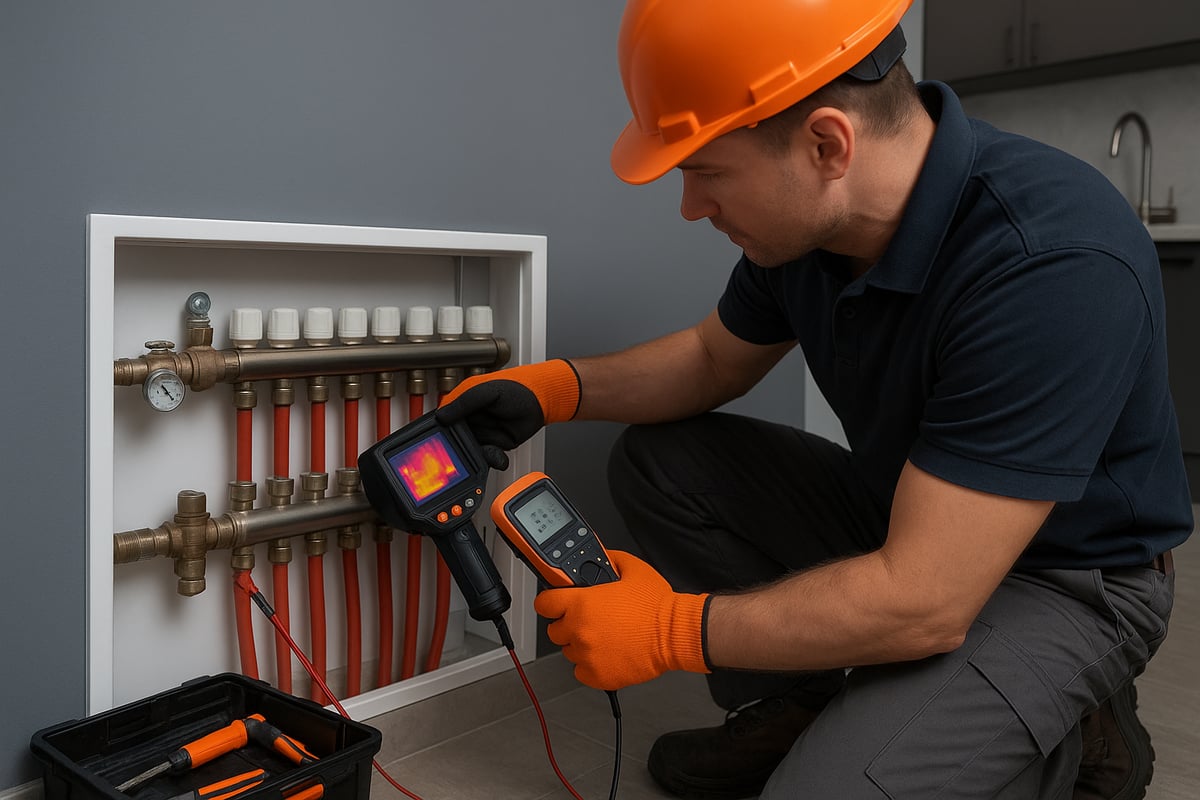
Before you fix underfloor heating, prioritise safety. Start by switching off the electrical supply to the underfloor heating and shutting down the boiler or heat pump. Wait until the system is completely cool before you start any work. Always wear protective gloves and eye protection to minimise risk.
Gather your essential tools, including a digital multimeter, manifold keys, and the latest manufacturer’s manual for your system. For 2026 systems, check for any updated safety recommendations and specific PPE requirements. If your system is integrated with smart controls, ensure you have access to the app or user interface.
A quick tool checklist:
| Tool | Purpose |
|---|---|
| Digital multimeter | Electrical safety checks |
| Infrared thermometer | Surface temperature checks |
| Manifold keys/pliers | Valve operation |
| PPE (gloves, goggles) | Personal safety |
Being methodical and safety conscious sets the foundation to fix underfloor heating efficiently.
Step 2: Isolate the Problem Zone
Identifying the affected area is the next essential step to fix underfloor heating. Use your smart thermostat or manual controls to check which zones are not heating. Often, only one area is problematic while others work normally.
Close the isolation valves on all unaffected zones. This focuses your troubleshooting on the problem area and prevents unnecessary system disruption. Use a thermal imaging camera or infrared thermometer to scan the floor and pinpoint cold spots. For example, if Zone 2 is cold but others are warm, you know where to investigate further.
By isolating the problem, you minimise risk and save time during your fix underfloor heating process.
Step 3: Troubleshoot Actuators and Pin Valves
Actuators control the flow of hot water into each zone. To fix underfloor heating, remove the actuator from the manifold and gently press the exposed pin valve. The pin should move smoothly up and down.
If it is stuck, carefully free it using silicone spray and pliers. Actuator failure often presents as no response to thermostat commands or a cold floor despite the system being on. If the actuator is faulty, replace it with a compatible model.
Look for these signs:
- No movement from the pin valve
- No click or motor sound when the thermostat calls for heat
- Visible corrosion or damage
Addressing actuator and pin valve faults is a crucial step to fix underfloor heating and restore even warmth.
Step 4: Address Thermostat Issues
Thermostats are the brain of your system. If you need to fix underfloor heating, always check the thermostat next. Start by resetting the thermostat according to your user guide. For wireless models, replace the batteries and ensure there is a strong signal.
If error codes such as E1 or E2 appear, consult your manual for specific troubleshooting steps. Sometimes, simply reprogramming the thermostat or updating the firmware resolves persistent issues. Double-check that the heating schedule and desired temperature are correctly set.
For more detailed guidance, refer to a comprehensive Underfloor Heating Troubleshooting Guide to ensure you are covering all possibilities.
Step 5: Remove Airlocks and Bleed the System
Airlocks are a frequent cause of underperformance. To fix underfloor heating, isolate all zones except the one with the problem. Attach a hose to the flow valve and drain off point on the manifold.
Flush cold mains water through the loop to expel trapped air. Watch for bubbles and listen for gurgling sounds—these indicate air is being removed. Once the water runs smoothly, close the valves and monitor the affected zone.
If the issue persists after several attempts, or if you notice leaks, it is wise to contact a professional plumber. Bleeding your system regularly helps prevent many common heating problems.
Step 6: Check Manifold and Flow Gauges
The manifold is the distribution hub for your underfloor heating. To fix underfloor heating, inspect all flow gauges and ensure they are open and set to the rates recommended by your manufacturer.
Look closely for any leaks, corrosion, or mineral build-up around the manifold and pipework. Adjust the flow settings as needed to balance heat across all zones. If you find significant corrosion or a persistent drop in pressure, note it for a professional inspection.
A healthy manifold is key to keeping your system running smoothly and efficiently.
Step 7: Test and Restore System
After completing repairs, it is time to test your work. Gradually reopen all isolation valves and restore power to the system. Switch the boiler or heat pump back on and set the thermostat to the desired temperature.
Monitor both pressure and temperature as the system heats up. Use an infrared thermometer to check for even warmth across all zones. If all areas heat up as expected, your fix underfloor heating efforts have succeeded.
Document any recurring or unresolved issues for future reference. If problems continue, consider seeking professional help to ensure long-term system reliability.
Step-By-Step Guide: Fixing Electric Underfloor Heating
Struggling with a cold floor despite having a modern electric underfloor heating system? You are not alone. Many homeowners in 2026 face similar frustrations, but with the right approach, you can confidently fix underfloor heating issues yourself. This guide will walk you through each critical step, ensuring you stay safe and achieve lasting results.
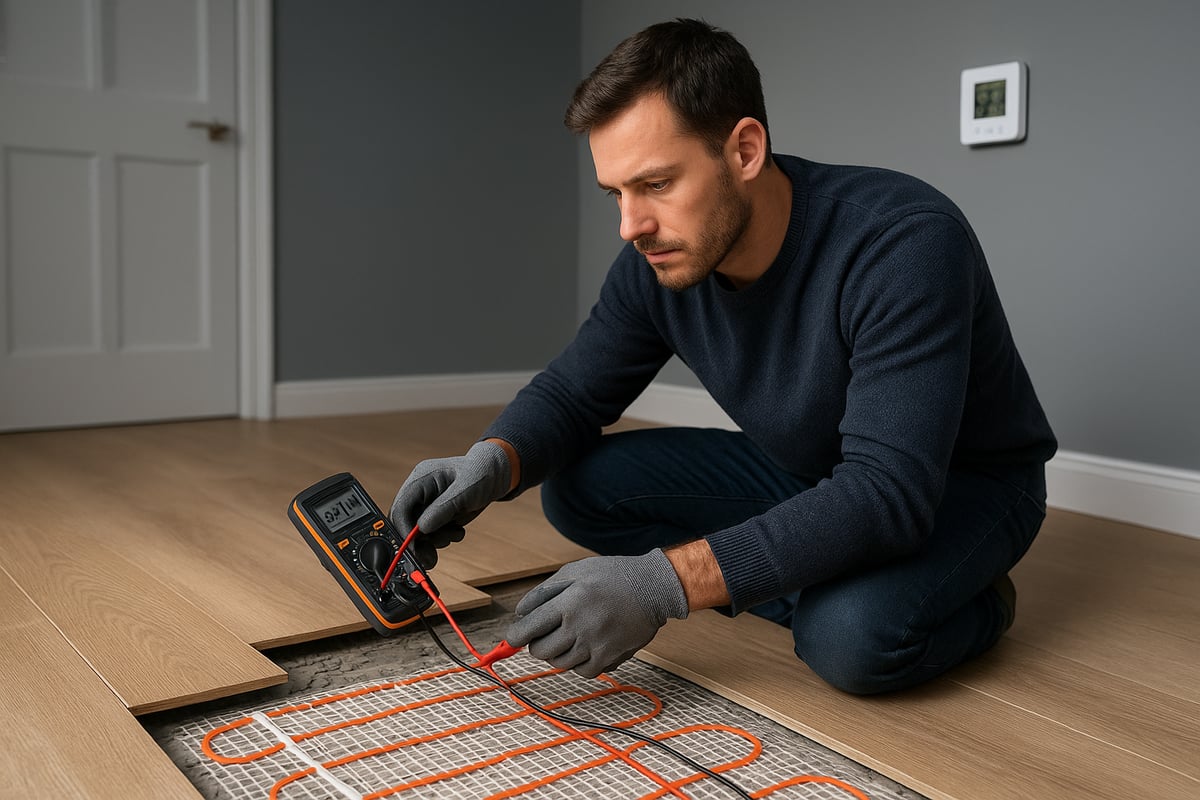
Step 1: Safety and Initial Checks
Before you attempt to fix underfloor heating, always start with safety. Switch off the power at the consumer unit to prevent electrical accidents. Confirm the system is off by checking indicator lights or using a voltage tester.
Next, inspect the thermostat and controller for any visible error codes. Common faults might include blank displays or flashing warning symbols. Scan the floor surface for signs of damage, such as lifted tiles or areas with moisture ingress, which can affect how you fix underfloor heating.
- Turn off power at the mains
- Check for error codes on the thermostat
- Look for floor damage or damp patches
Being thorough at this stage sets a solid foundation for effective repairs.
Step 2: Thermostat and Sensor Troubleshooting
If the initial checks point towards thermostat or sensor issues, you will need to reset or reprogramme your thermostat. Refer to your system manual for 2026 models, as interfaces may differ. Replace batteries in wireless controllers if needed.
Floor temperature sensors are a common failure point. If your system is not responding or displays inaccurate temperatures, test the sensor with a multimeter. Incorrect wiring or loose connections can also disrupt operation. For further guidance, consult this resource on Troubleshooting Electric Underfloor Heating Systems.
- Reset or update the thermostat
- Replace faulty floor sensors
- Verify all wiring connections are secure
Careful attention here can resolve many issues without further intervention.
Step 3: Testing Heating Mats or Cables
To fix underfloor heating that is not warming up, test your heating mats or cables using a digital multimeter. Set the device to continuity mode and check the circuit for breaks. If the reading shows an open circuit, a break is present and needs repair.
Compare your measured resistance to the manufacturer’s values for 2026 systems. Significant deviations may indicate a fault. This check is essential before considering more invasive repairs.
- Use a multimeter for continuity testing
- Confirm resistance matches specifications
- Identify any breaks or faults in the circuit
Accurate testing helps pinpoint where repairs are needed.
Step 4: Repairing or Replacing Faulty Components
After identifying the problem, you can fix underfloor heating by patching minor breaks in cables or mats with approved repair kits. Follow the kit instructions closely for a reliable, safe result.
If the thermostat or controller is faulty and cannot be reset, replacement is often the most efficient solution. For major faults, such as large areas of cable damage or persistent electrical issues, seek help from a qualified electrician.
- Patch small cable breaks with repair kits
- Replace damaged thermostats or controllers
- Contact a professional for complex repairs
Knowing when to tackle repairs yourself and when to seek help is crucial.
Step 5: System Reassembly and Testing
Once repairs are complete, carefully reassemble any lifted floor coverings and restore power at the consumer unit. Monitor the system as it heats up, checking for even warmth across the floor using an infrared thermometer.
If issues persist or error codes return, document all steps taken. This information is vital if you need to contact the manufacturer for warranty support or further assistance to fix underfloor heating.
- Restore power and test operation
- Use an infrared thermometer for spot checks
- Keep records of recurring issues
By following these steps, you can confidently address most electric underfloor heating problems in 2026.
Troubleshooting System-Wide and Persistent Problems
Facing system-wide issues when you try to fix underfloor heating can feel overwhelming. If entire zones remain cold, or persistent faults keep reappearing, a methodical approach is essential. These problems often signal underlying issues in design, components, or controls, so let's break down the most common scenarios and their solutions.
Multiple Zones or Entire System Not Heating
When multiple zones or the whole system fails to heat, several core issues could be at play. Start by checking if the circulation pump or relays are working. Listen for pump operation or check indicator lights. If the pump is silent or the relay does not click, power supply or relay failure may be the root cause.
Next, confirm the wiring board is receiving power. Use a digital multimeter to test voltage on main terminals. Inspect that all isolation valves are fully open, as a closed valve can prevent flow to entire zones.
For water-based systems, if the boiler or heat pump is not firing, check the signal wiring from the thermostat. A faulty blending valve can also prevent hot water from circulating, so verify its operation. If these steps do not fix underfloor heating issues, it is wise to consult a qualified heating engineer.
Pressure Problems in Water-Based Systems
Pressure irregularities are a leading cause of persistent faults. A pressure rise often points to a filling loop left open or a failed expansion vessel. Drops in pressure can indicate leaks, airlocks, or even a boiler lockout.
To safely test and adjust pressure, use a calibrated gauge. For minor drops, top up the system following the manufacturer's instructions, but never exceed recommended limits. If pressure rises rapidly or falls repeatedly, check for restrictions or blockages in pipework.
Regular maintenance can prevent many of these problems, but if you are unsure how to fix underfloor heating pressure issues, professional help is recommended. System design also plays a significant role in pressure stability, as discussed in Underfloor heating design insights.
Persistent Electrical or Sensor Faults
Smart thermostats and sensors have become standard in 2026, but they can still develop faults. App connectivity issues, repeated sensor errors, or erratic temperature readings are common symptoms. Try replacing batteries, resetting the thermostat, or updating firmware to address these problems.
If faults persist, consult the manufacturer's support resources. Always keep warranty information and service records handy, as many components are covered for several years. When electrical or sensor problems make it hard to fix underfloor heating effectively, do not hesitate to call a qualified electrician or heating engineer.
System-wide and persistent problems are best addressed with a structured diagnostic process. By following these steps, you can restore comfort, efficiency, and peace of mind.
[Expert Help from Nu-Heat North East Ltd] (https://nu-heatnortheast.co.uk)
If you need to fix underfloor heating in your home or property, specialist support can make all the difference. Nu-Heat North East Ltd offers expert diagnostics, repairs, and installations for both water-based and electric systems.
Our Gas Safe and HETAS certified engineers have over 40 years of experience, ensuring every job is completed safely and efficiently. We provide 0 percent interest finance options, making it easier to spread the cost of repairs or system upgrades.
Whether you are a homeowner or landlord, we serve Newbiggin by the Sea and the wider North East region. For a prompt, no-obligation quote or to book a visit, discover our local underfloor heating services today.
Find out more at nu-heatnortheast.co.uk.
Preventative Maintenance and Futureproofing Your Underfloor Heating
Maintaining your underfloor heating system is essential for long-term performance and peace of mind. In 2026, with evolving technology and efficiency standards, a proactive approach will help you fix underfloor heating issues before they escalate. This section outlines the best practices and futureproofing strategies to keep your system running smoothly year after year.
Annual Maintenance Best Practices
To reliably fix underfloor heating and prevent unexpected breakdowns, schedule annual professional inspections. A qualified engineer will:
- Bleed water-based systems to expel trapped air
- Check for leaks, corrosion, or insulation wear
- Test and calibrate thermostats and sensors
- Inspect manifolds, actuators, and valves for smooth operation
Smart controls should be updated to the latest software version. Cleaning thermostat screens and verifying sensor accuracy are essential. For a step-by-step checklist, consult resources like Preventing Underfloor Heating Issues, which outlines regular checks to ensure your system stays efficient. Consistent maintenance helps you spot problems early and fix underfloor heating before comfort is compromised.
Upgrades and Modernisation in 2026
Modernising your setup is one of the best ways to fix underfloor heating issues that stem from outdated technology. In 2026, consider retrofitting smart thermostats for zoned control and integrating your system with renewable energy sources such as heat pumps or solar panels.
Upgrade insulation beneath the floor to improve energy efficiency and reduce heat loss. Replacing older actuators and pumps with modern, low-energy models also enhances reliability. For those looking to futureproof, upgrading to a wireless thermostat allows remote monitoring and adjustments, making it easier to fix underfloor heating problems from anywhere in your home.
Tips for Avoiding Common Problems
Staying ahead of issues is key if you want to fix underfloor heating with minimal hassle. Regularly monitor system performance and track energy usage to spot anomalies quickly. Keep user manuals and service records accessible for reference during troubleshooting.
- Address minor leaks or error codes as soon as they appear
- Educate household members about correct operation
- Avoid placing thick rugs or furniture over heated zones
By following these guidelines, you will reduce the risk of breakdowns and fix underfloor heating issues before they become major repairs.
When to Call a Professional
While many homeowners can fix underfloor heating issues themselves, some situations require expert intervention. Persistent faults after DIY checks, recurring leaks, or problems with electrical components should be handled by a certified engineer.
Major upgrades, such as integrating with a new heat pump or replacing complex wiring boards, also demand professional expertise. Always ensure compliance with UK safety and building regulations. Calling a professional ensures your efforts to fix underfloor heating are safe, effective, and long-lasting.
Resources for Further Support
Accessing reliable support is crucial when you need to fix underfloor heating in 2026. Manufacturer helplines and official troubleshooting guides provide targeted advice for your system model. Accredited local installers offer hands-on service and can handle complex repairs or upgrades.
Consult government resources for the latest energy efficiency standards and incentives. Online communities and forums can also share practical advice and experiences. With these resources, you will have the confidence and knowledge to fix underfloor heating and maintain comfort in your home.